Collection pages are the workhorses of any Shopify store. They are where browsing happens, where product discovery occurs, and where the majority of your organic search traffic lands. Yet most merchants treat them as an afterthought — a default grid of product thumbnails with no strategic thought behind the layout, content, or merchandising.
That is a missed opportunity. A well-built collection page does not just display products. It guides visitors towards a purchase by combining intelligent filtering, persuasive content, strategic product ordering, and SEO-optimised structure. The stores that get collection pages right consistently outperform those that rely on generic defaults.
This guide covers everything from creating your first collection to advanced merchandising strategies that drive measurable conversion improvements.
Why collection pages matter more than you think
Collection pages serve three critical functions in your Shopify store:
- SEO entry points. Collection pages target category-level keywords ("women's running shoes", "organic face cream", "handmade candles") that typically have higher search volume than individual product keywords. A well-optimised collection page can rank for dozens of related search terms.
- Navigation structure. Collections define how visitors browse your store. A logical collection hierarchy reduces the number of clicks to find the right product, which directly impacts conversion rates.
- Merchandising canvas. Collection pages give you control over which products visitors see first, how they are presented, and what supporting content accompanies them. This is your opportunity to guide purchasing decisions at scale.
Data from the stores we manage consistently shows that collection pages are the second most visited page type after the homepage, and they often have higher conversion rates than product pages because visitors are still in discovery mode.
Automated vs manual collections
Shopify offers two types of collections, and understanding when to use each is fundamental.
Automated collections
Automated collections use conditions to include products automatically. You set rules like "Product type is equal to T-Shirts" or "Product tag contains organic", and Shopify adds matching products without manual intervention.
Best for:
- Large catalogues where manually adding products to collections would be impractical
- Dynamic collections that should update as you add new products (e.g., "New Arrivals" based on a date tag)
- Category-based collections that map to your product types
Manual collections
Manual collections require you to explicitly add and order each product. You have complete control over which products appear and in what sequence.
Best for:
- Curated edits ("Staff Picks", "Gift Ideas Under £50")
- Promotional collections where specific product order matters
- Small catalogues where automation provides no real benefit
Most stores use both. Category collections (Dresses, Tops, Accessories) are automated, while promotional or curated collections (Sale, Best Sellers, Valentine's Gifts) are manual.
Creating your first collection
Step-by-step process
- In your Shopify admin, go to Products > Collections
- Click Create collection
- Enter the collection title (this becomes the H1 on the page)
- Write the collection description (aim for 150-300 words of unique, keyword-rich content)
- Upload a collection image (this appears as the banner on most themes)
- Choose Automated or Manual collection type
- For automated: set your conditions (product type, tag, vendor, price, etc.)
- For manual: add products individually using the product picker
- Set the sort order (more on this below)
- Edit the SEO section: meta title, meta description, and URL handle
- Click Save
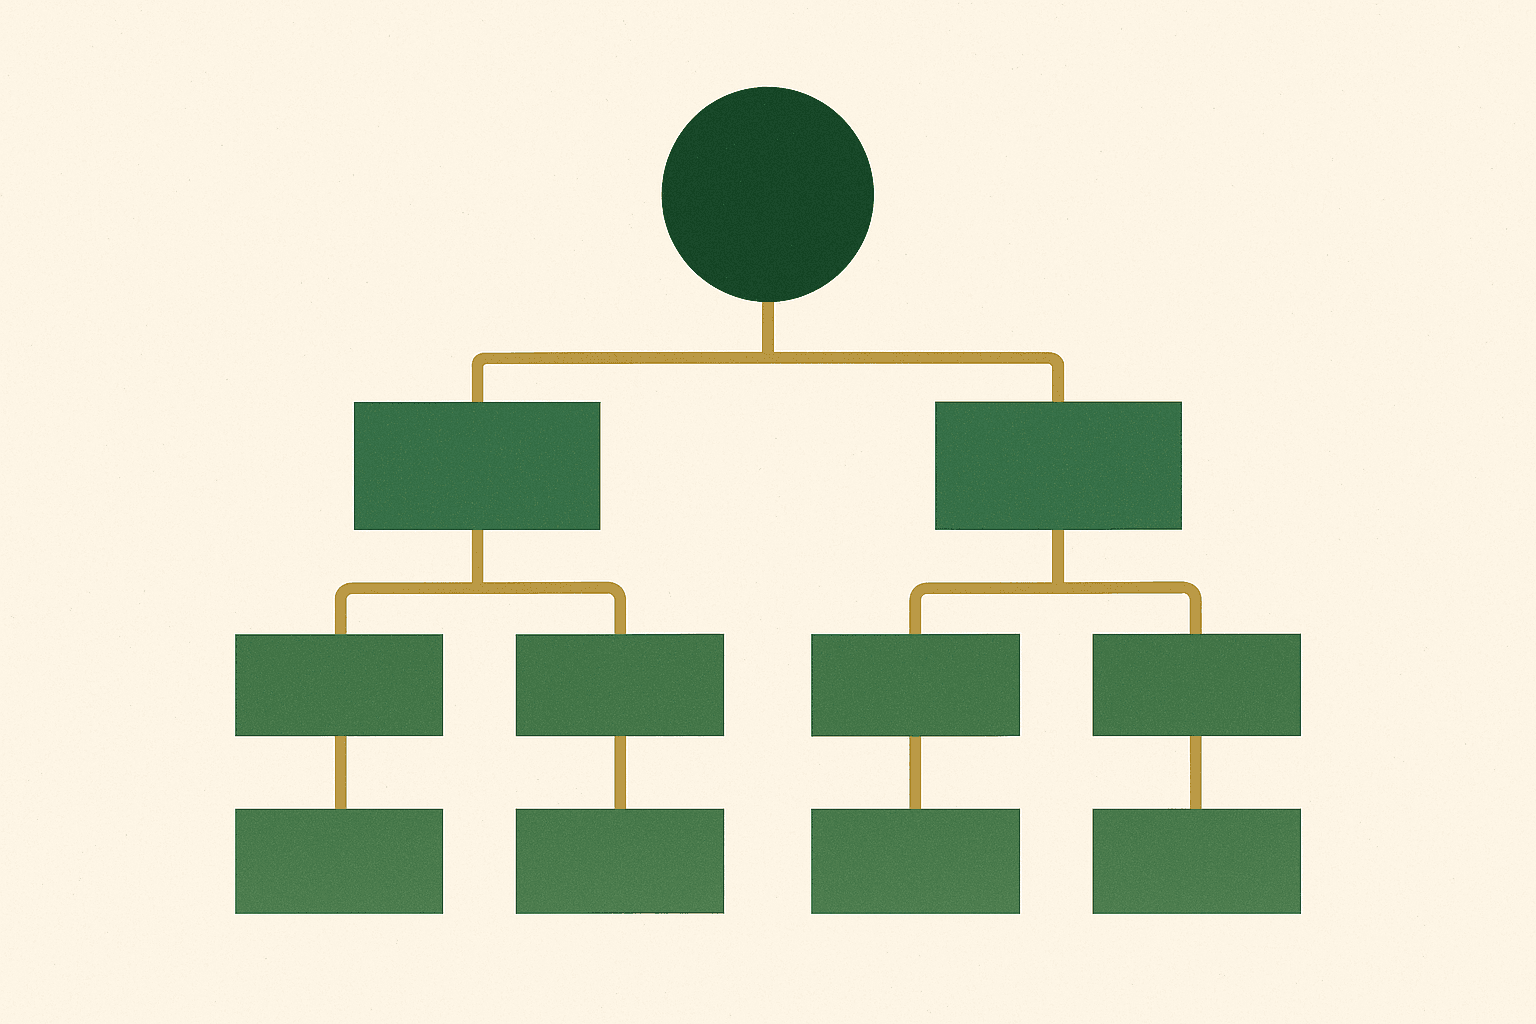
Structuring your collection hierarchy
Your collection structure should mirror how customers think about your products, not how you organise them internally. Here is a proven hierarchy framework:
Level 1: Top-level categories
These appear in your main navigation. Keep them broad and intuitive: "Women", "Men", "Home", "Sale". Aim for 4-8 top-level categories maximum.
Level 2: Subcategories
These appear in dropdown menus or sidebar navigation: "Women > Dresses", "Women > Tops", "Home > Candles". Each should map to a specific product type or use case.
Level 3: Refined subcategories (optional)
For larger catalogues: "Women > Dresses > Midi Dresses", "Women > Dresses > Maxi Dresses". Only add this level if each subcollection has enough products (10+) to justify its own page.
Cross-cutting collections
Collections that span categories: "New Arrivals", "Sale", "Best Sellers", "Sustainable", "Gift Ideas". These are powerful for merchandising and SEO but should not replace your primary category structure.
For a deeper look at collection page SEO specifically, our guide on optimising collection pages for SEO goes into keyword strategy and technical implementation.
Collection page SEO
Collection pages are SEO powerhouses when optimised correctly. They target category-level keywords that drive significant search volume.
On-page SEO essentials
- Title tag: Include your primary keyword. Format: "[Keyword] | [Brand Name]" or "[Keyword] — Shop [Category] at [Brand]". Keep under 60 characters.
- Meta description: Include the keyword naturally and add a compelling reason to click. Keep under 155 characters.
- H1 heading: Your collection title becomes the H1. Make it keyword-rich but natural. "Women's Summer Dresses" is better than "Dresses".
- Collection description: 150-300 words of unique content that includes your target keywords, related terms, and genuinely useful information about the category. Do not stuff keywords — write for the shopper first.
- URL handle: Clean, keyword-rich URLs.
/collections/womens-summer-dressesbeats/collections/dresses-w-summer-2026.
Internal linking from collection pages
Use your collection description to link to related collections and relevant blog content. For example, your "Running Shoes" collection description could link to your "Running Accessories" collection and a blog post about choosing the right running shoes.
For broader SEO strategy, read our guide on SEO and organic growth services.
Choosing the right layout and grid
The grid layout of your collection page affects both visual appeal and conversion rates. There is no single "best" layout — the right choice depends on your products and catalogue size.
Grid options
- 4 columns (desktop), 2 columns (mobile): The most common layout. Works well for most product types. Shows enough products above the fold without making cards too small.
- 3 columns (desktop), 2 columns (mobile): Larger product cards with more detail. Good for products where visual detail matters (fashion, art, handmade goods).
- 2 columns (desktop), 1 column (mobile): Maximum detail per product. Works for high-consideration purchases with longer product names or complex variants.
- List view: Products displayed in rows with image, title, price, and description. Good for technical products or B2B catalogues where specifications matter.
Product card content
Each product card should display:
- Product image (with hover-to-second-image if possible)
- Product title
- Price (and compare-at price if on sale)
- Colour swatches (if applicable)
- Star rating (if you have reviews)
- Quick-add button (optional, but can increase conversion)
Product filtering and sorting
Filtering is where collection pages either shine or fail. For collections with more than 20 products, effective filters are essential for usability.
Shopify's built-in filtering
Shopify supports native storefront filtering using product metafields, options, tags, price, and availability. To configure:
- Go to Online Store > Navigation
- Click on Collection and search filters
- Add the filters you want to display (availability, price, vendor, product type, tags, and any metafield-based filters)
- Reorder them by priority
Filter best practices
- Limit to 5-7 filter groups. Too many filters overwhelm visitors. Show the most useful filters by default and hide others behind an "All filters" expandable.
- Show product counts. Display how many products match each filter value so visitors know whether a filter is worth applying.
- Use colour swatches for colour filters. Visual colour indicators are scanned faster than text labels.
- Support multiple filter selections. Visitors should be able to select multiple values within a filter group (e.g., "Size: S OR M").
- Make filters sticky on scroll. On desktop, keep the filter sidebar visible as visitors scroll through products.
Product merchandising strategies
The order in which products appear on your collection page directly impacts what sells. Shopify offers several sort options, and the right choice depends on your goals.
Sort order options
- Best selling: Shows your top sellers first. Good default for most stores — social proof drives conversions.
- Manual: You control the exact order. Best for curated collections where you want to feature specific products.
- Price (low to high / high to low): Let customers sort by price. Useful as a sort option, but not ideal as the default.
- Created (newest first): Good for "New Arrivals" collections.
- Alphabetical: Rarely useful for consumer stores, but helpful for B2B catalogues with known product names.
Advanced merchandising techniques
- Pin hero products. Manually pin your 4-8 best products to the top of automated collections. These should be your best sellers, highest-margin items, or most visually appealing products.
- Alternate product sizes in the grid. Make some product cards span 2 columns to create visual hierarchy. This draws attention to featured products without removing them from the natural grid flow.
- Inject content blocks. Add editorial content, promotional banners, or collection stories between product rows. This breaks up the monotony of a pure product grid and adds context.
- Show out-of-stock last. Push out-of-stock products to the end of the collection to avoid frustrating visitors who cannot buy them.

Collection images and banners
A collection banner image sets the visual tone for the page and provides context for what the visitor will find. Here are the guidelines we follow:
- Dimensions: 1200x400px minimum for full-width banners. 16:5 aspect ratio works well across most themes.
- Content: Lifestyle imagery showing products in context outperforms studio shots. Show the product being used or worn, not just sitting on white.
- Text overlay: If your theme supports text on the banner, keep it to the collection name and one line of supporting text. Do not cram promotional messages into the banner.
- Mobile consideration: Banner images crop differently on mobile. Place key visual elements in the centre of the image to ensure they remain visible on all screen sizes.
- File size: Compress banners to under 200KB. A 2MB banner image will noticeably slow page load, especially on mobile.
Custom collection templates
Shopify's Online Store 2.0 lets you create different templates for different collections. This is powerful for stores where different product categories need different page layouts.
Creating a custom collection template
- Go to Online Store > Themes > Customise
- Navigate to a collection page using the page selector
- Click Create template
- Name your template (e.g., "collection-with-lookbook")
- Add and arrange sections specific to this template
- Save, then assign the template to the relevant collection
Example use cases for custom templates:
- A "New Arrivals" template with a larger hero section and editorial content
- A "Sale" template with a countdown timer and urgency messaging
- A "Gift Guide" template with curated product groups and gift-wrapping upsell
For help with custom template development, our Shopify development service includes bespoke collection page design.
Conversion optimisation tactics
Beyond layout and merchandising, there are specific tactics that measurably improve collection page conversion rates.
1. Quick-add functionality
Let visitors add products to their cart directly from the collection page without navigating to the product page. This reduces friction for simple products with no variant selection needed.
2. Colour and size swatches on cards
Displaying available colour and size options on the product card helps visitors find what they need faster and reduces the back-and-forth between collection and product pages.
3. Social proof on cards
Show star ratings and review counts on product cards. A "4.8 (234 reviews)" label beneath the price adds credibility at the browsing stage.
4. Promotion banners within the grid
Insert promotional messages ("Free shipping over £50", "New customer? Get 15% off") as banner cards within the product grid. These catch the eye without interrupting the browsing flow.
5. Recently viewed products
Add a "Recently viewed" section at the bottom of collection pages. Visitors often browse multiple collections, and this helps them return to products they showed interest in earlier.
If you are also looking at platform migration options, our guides on migrating from WooCommerce to Shopify and international expansion cover how to preserve collection page SEO value during transitions.
Mobile collection page best practices
With over 70% of traffic coming from mobile, your collection pages must be optimised for small screens.
- 2-column grid on mobile. Single column wastes too much vertical space. Two columns show enough products to encourage scrolling.
- Sticky filter bar. Place a filter toggle button at the top of the product grid that stays visible as visitors scroll. Tapping opens a full-screen filter overlay.
- Swipeable colour swatches. If product cards show colour options, make them swipeable rather than requiring taps on tiny dots.
- Compact product cards. Show image, title, price, and rating. Remove secondary information on mobile to keep cards scannable.
- Load more vs pagination. A "Load more" button is better than pagination on mobile because it does not require a full page reload. Infinite scroll can work but needs careful implementation to avoid performance issues.
Mistakes to avoid
1. Empty or thin collection descriptions
A collection page with no description is a missed SEO opportunity. Write unique, helpful content for every collection. Even 150 words makes a difference.
2. Too many collections with too few products
A collection with 3 products looks sparse and underwhelming. If a subcollection does not have at least 8-10 products, merge it into a parent collection and use tags for filtering instead.
3. Ignoring out-of-stock product handling
Showing out-of-stock products prominently frustrates visitors. Either hide them, push them to the end, or clearly label them with "Sold out" badges and an option to be notified when back in stock.
4. Not using collection-specific metafields
Shopify supports metafields on collections, which let you add custom data like promotional text, secondary images, or category-specific content without editing theme code.
5. Duplicate collections for minor variations
Do not create separate collections for "Red Dresses", "Blue Dresses", and "Green Dresses" when a single "Dresses" collection with a colour filter achieves the same result more cleanly. Each unnecessary collection dilutes your SEO efforts and creates maintenance overhead.
Collection pages are where the majority of buying journeys begin. Getting them right is not a one-time exercise — it requires ongoing merchandising, content updates, and performance analysis.
Andrew Simpson, Founder
Building effective collection pages on Shopify combines strategic thinking with technical execution. Start with a logical collection hierarchy, optimise each page for SEO, implement useful filtering, and merchandise your products intentionally. The stores that treat collection pages as a core part of their conversion strategy consistently outperform those that leave them on autopilot.
If you want collection pages that are built for both SEO and conversions, our Shopify development and SEO teams work together to create collection experiences that drive measurable results. Get in touch to discuss your store.