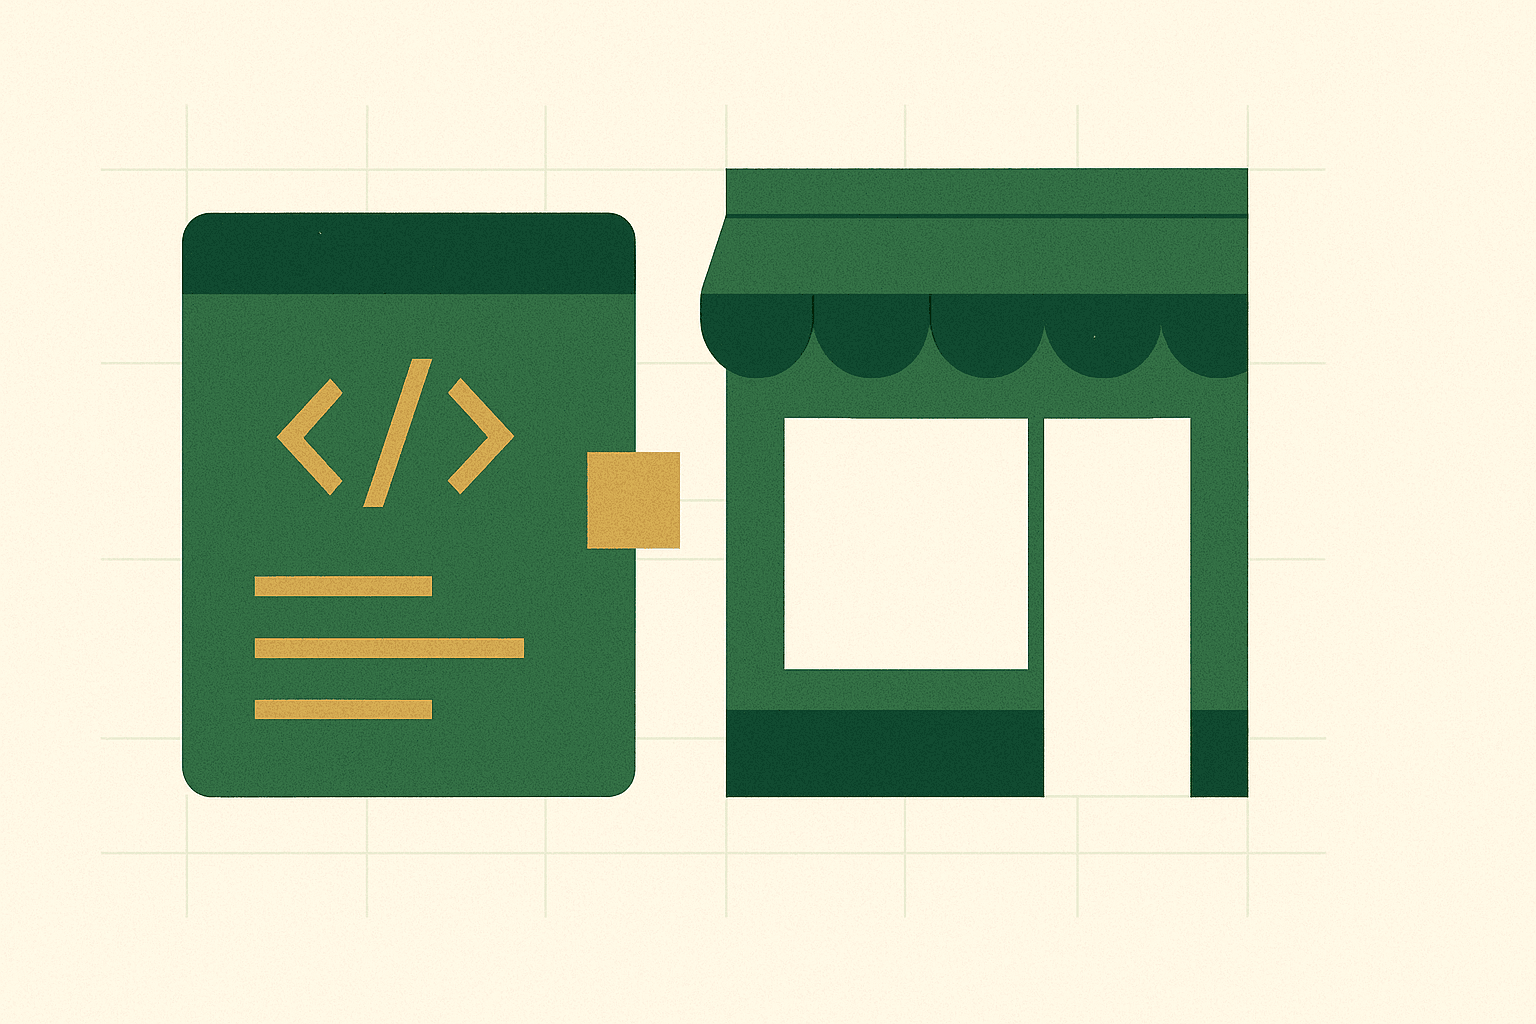
Platform migrations are one of the most stressful things an ecommerce brand goes through. You are essentially rebuilding the engine of your business while it is still running. Get it right and you end up with a faster, more capable store on a better platform. Get it wrong and you lose data, rankings, revenue, and a significant amount of sleep.
Over the past twenty years, we have migrated dozens of stores to Shopify from platforms including Magento, WooCommerce, BigCommerce, Prestashop, Visualsoft, and various bespoke systems. Every single migration has taught us something. This checklist is the distilled result of all those lessons — the things that must happen, in the order they need to happen, for a migration to go smoothly.
This is not a theoretical framework. This is the actual checklist we use internally at Pea Soup Digital for every Shopify migration project. We are sharing it because too many brands approach migration without one, and the consequences are predictable and painful.
Why a migration checklist matters
The reason migrations go wrong is almost never a single catastrophic failure. It is death by a thousand small oversights. A redirect that was not created. A metafield that was not mapped. A payment gateway that was not tested with real transactions. Customer passwords that nobody told customers about. Each individual oversight is minor. Collectively, they create a chaotic launch and weeks of firefighting.
A checklist prevents this. It forces you to think through every stage before you start, it ensures nothing is missed during execution, and it gives your team a shared reference point when multiple people are working on different aspects of the migration simultaneously.
The checklist below is organised into nine phases. Each phase has specific tasks, and each task has clear completion criteria. You should not move to the next phase until the current one is complete. Rushing through phases is how mistakes happen. If your migration timeline is too aggressive to complete each phase properly, extend the timeline rather than cutting corners.
Phase 1: Pre-migration planning
Before you touch any data or install any apps, you need to plan the migration thoroughly. This planning phase typically takes one to two weeks and prevents far more time being wasted later.
Define scope and objectives
- Document why you are migrating. What problems does your current platform have? What do you expect Shopify to solve? Having clear objectives helps you make decisions throughout the process and measure success afterwards.
- List everything that needs to migrate. Products, customers, orders, blog posts, pages, reviews, redirects, discount codes, gift cards, subscription data. If it exists on your current platform, decide whether it migrates, gets archived, or gets deleted.
- Identify functionality gaps. What does your current platform do that Shopify does not do natively? For each gap, determine whether a Shopify app, a custom development, or a process change solves it.
- Set a realistic timeline. Allow adequate time for each phase. A 1,000-SKU store typically needs 4-6 weeks. A 5,000+ SKU store with complex integrations needs 8-16 weeks. Do not commit to a launch date until you have assessed the full scope.
- Assign ownership. Every task needs a named owner. Shared ownership is no ownership. One person should be the migration lead with authority to make decisions and resolve blockers.
Audit your current store
- Crawl your existing site. Use Screaming Frog or a similar crawler to generate a complete list of URLs, including product pages, collection pages, blog posts, and information pages. This crawl is the foundation of your redirect map.
- Document your current URL structure. Shopify has a specific URL structure (/products/, /collections/, /pages/, /blogs/). Map how your current URLs will translate to Shopify URLs.
- Record your current SEO baseline. Export rankings, organic traffic data, and top-performing pages from Google Search Console and your analytics platform. You need this to measure whether the migration affected your SEO performance.
- Inventory your integrations. List every third-party service your store connects to: payment gateways, shipping providers, accounting software, ERP systems, email marketing platforms, review platforms, analytics tools. Each one needs to be reconnected on Shopify.
- Assess your content. Review product descriptions, blog posts, and page content. Migration is a good time to identify content that needs updating, but resist the urge to rewrite everything during the migration itself.
Phase 2: Data export and audit
Once planning is complete, export everything from your current platform. Export more than you think you need. Storage is cheap. Lost data is expensive.
Product data export
- Export all product data. Titles, descriptions, prices, compare-at prices, SKUs, barcodes, weights, inventory quantities, variant options (size, colour, etc.), tags, product type, vendor, and SEO fields (title tags, meta descriptions, URL handles).
- Download all product images. Export images at the highest available resolution. Shopify will optimise them for delivery, but you cannot upscale low-resolution originals. Ensure image filenames are descriptive, not random strings.
- Export metafields and custom data. If your current platform uses custom fields for data like care instructions, materials, dimensions, or certifications, export these separately. They will need to be mapped to Shopify metafields.
- Document variant structures. If your products have complex variant configurations (more than three option types), plan how to restructure them within Shopify's variant system or whether you need a variant app.
Customer and order data export
- Export customer records. Names, email addresses, phone numbers, shipping addresses, billing addresses, marketing consent status, tags, and any custom fields.
- Export order history. Order numbers, dates, line items, quantities, prices, discounts, shipping costs, taxes, fulfilment status, tracking numbers, and customer associations.
- Note: passwords cannot be migrated. This is a universal limitation. Plan your customer communication strategy for password resets early.
Content export
- Export all blog posts. Titles, body content, author, publish date, tags, featured images, meta titles, and meta descriptions.
- Export all pages. About, contact, FAQs, shipping information, returns policy, terms and conditions, privacy policy — every static page.
- Export navigation menus. Document your current menu structure including all links, dropdowns, and mega menu configurations.
Data audit
- Clean your data before importing. Remove discontinued products, merge duplicate customer records, fix inconsistent formatting, and correct obvious errors. Migrating dirty data to a clean platform defeats the purpose.
- Verify completeness. Cross-reference your export counts against your platform dashboard. If your platform says you have 2,847 products but your export has 2,791, find the missing 56 before proceeding.
Phase 3: Shopify store setup
With your data exported and cleaned, set up the Shopify store foundation before importing anything.
- Choose your Shopify plan. Basic, Shopify, Advanced, or Plus. The right plan depends on your revenue volume, the features you need (particularly around reporting and automation), and your transaction fee tolerance. See our guide to Shopify plans for detailed comparisons.
- Configure store settings. Business name, address, currency (GBP), weight units (kg), time zone (GMT/BST), tax settings (UK VAT), checkout language, and legal pages.
- Set up tax settings. Configure UK VAT rates, VAT registration number, and ensure prices display correctly (including or excluding VAT depending on your B2C or B2B model).
- Configure shipping zones and rates. Set up UK domestic shipping, international shipping zones, weight-based or price-based rates, and free shipping thresholds.
- Set up payment gateways. Shopify Payments (Stripe), PayPal, and any additional payment methods your customers expect (Klarna, Clearpay, etc.).
- Install your theme. Whether you are using a premium theme or building a custom Shopify theme, get it installed and configured before importing data.
- Create your collection structure. Set up collections (categories) that mirror or improve upon your existing site structure. Decide between manual and automated collections.
Phase 4: Data import and validation
This is where the actual migration happens. Take your time. Validate everything. Import in stages rather than all at once.
Product import
- Import a test batch first. Import 10-20 products across different types (simple products, variant products, products with metafields) and verify everything displays correctly before importing the full catalogue.
- Import all products. Use Shopify's native CSV import for straightforward catalogues or a migration app like Matrixify for complex imports with metafields, variant images, and custom data.
- Verify product data. Spot-check at least 10% of products. Check titles, descriptions, prices, images, variants, inventory levels, SEO fields, and metafields.
- Assign products to collections. Verify that automated collection rules are working correctly and manually assign products to manual collections.
Customer import
- Import customer records. Use Shopify's customer CSV import. Ensure marketing consent fields are correctly mapped to comply with GDPR.
- Verify customer data. Check that addresses, tags, and marketing preferences are correctly imported.
- Plan password reset communications. Draft and schedule the email that will notify customers they need to reset their passwords. Send this on or shortly after launch day.
Order history import
- Import historical orders. This preserves customer order history and is important for customer service continuity. Use Matrixify or Shopify's order import for this.
- Verify order associations. Ensure imported orders are correctly linked to the right customer accounts.
Content import
- Create all pages. Manually recreate or import your static pages. Verify formatting, images, and links.
- Import blog posts. Preserve original publish dates where possible for SEO continuity.
- Rebuild navigation menus. Recreate your header, footer, and any additional navigation menus in Shopify.
Phase 5: SEO and redirects
This is the phase that most migrations get wrong, and it is the one that causes the most lasting damage. A botched redirect strategy can cost you months of organic traffic recovery. Take this seriously.
URL redirect mapping
- Create a complete redirect map. Every URL from your crawl in Phase 1 needs a corresponding Shopify URL. Map old product URLs to new /products/ URLs, old category URLs to new /collections/ URLs, old blog URLs to new /blogs/ URLs.
- Use 301 redirects, not 302. Permanent redirects (301) pass SEO value. Temporary redirects (302) do not. Every redirect in your migration should be a 301.
- Do not forget non-obvious URLs. Pagination URLs, filtered URLs, search result URLs, image URLs, and any URLs that appear in your Google Search Console but are not part of your main navigation.
- Import redirects in bulk. Shopify allows bulk redirect import via CSV. Prepare your redirect file and import it before launch.
- Handle URL parameters. If your old platform used URL parameters for filtering or sorting, ensure these are either redirected or return appropriate responses.
On-page SEO preservation
- Preserve title tags. Every page should retain its existing title tag or be improved — never left blank or set to a Shopify default.
- Preserve meta descriptions. Same principle as title tags. Import your existing meta descriptions.
- Preserve heading structure. Your H1, H2, and H3 structure should remain consistent for pages that rank well.
- Submit new sitemap. Once live, submit your updated sitemap.xml to Google Search Console and Bing Webmaster Tools immediately.
- Update internal links. Audit your content for internal links that point to old URLs. Update them to point directly to new URLs rather than relying on redirects for internal linking.
For a complete SEO migration guide, see our article on SEO during platform migration.
Phase 6: Integrations and apps
Reconnect all your third-party services and install necessary apps. Test each integration individually before testing them together.
- Email marketing platform. Connect Klaviyo or your email platform. Verify that customer data is syncing, browse and purchase events are tracking, and your existing flows will trigger correctly.
- Analytics. Install Google Analytics 4, configure ecommerce tracking, set up Google Tag Manager if used, and verify that purchase events fire correctly. See our guide to GA4 ecommerce tracking on Shopify.
- Accounting and ERP. Connect your accounting software (Xero, QuickBooks, etc.) and verify order and payment data flows correctly.
- Shipping and fulfilment. Connect your shipping provider or 3PL. Test label generation, tracking number sync, and fulfilment status updates.
- Reviews platform. Import existing reviews to Shopify. If switching review platforms, migrate review data first.
- Search and filtering. If using a third-party search app, install and configure it. Ensure product data indexes correctly.
- Essential Shopify apps. Install only the apps you genuinely need at launch. You can always add more later. Every app adds page weight and complexity. See our guide to auditing your Shopify app stack.
Phase 7: Testing and QA
Testing is not optional. It is not something you do if there is time. It is a required phase that protects your revenue. Every hour spent testing saves multiple hours of post-launch firefighting.
Functional testing
- Place test orders. Use Shopify's Bogus Gateway to place test orders through every possible path: single product, multiple products, with discount code, with gift card, guest checkout, logged-in checkout.
- Test payment processing. Switch to real payment gateways and place actual low-value orders. Verify that payment is captured, order is created, confirmation email is sent, and the order appears in your accounting system.
- Test shipping calculations. Verify that shipping rates calculate correctly for different basket values, weights, and delivery zones.
- Test discount codes. Verify that all migrated discount codes work correctly, including percentage discounts, fixed-amount discounts, free shipping codes, and codes with minimum spend requirements.
- Test customer account functions. Registration, login, password reset, order history viewing, address management, and marketing preference updates.
- Test email notifications. Order confirmation, shipping confirmation, refund notification, account creation, password reset, and abandoned checkout emails.
Cross-browser and device testing
- Test on real devices. Not just browser emulators. Test on actual iPhones, Android phones, iPads, and tablets.
- Test major browsers. Chrome, Safari, Firefox, and Edge at minimum.
- Test responsive breakpoints. Verify that your theme displays correctly at mobile, tablet, and desktop widths.
SEO testing
- Test every redirect. Crawl your redirect map and verify that every old URL returns a 301 to the correct new URL.
- Check for broken links. Crawl the new Shopify store and fix any internal broken links.
- Verify robots.txt. Ensure your Shopify robots.txt is not blocking important pages.
- Verify sitemap. Check that your sitemap includes all important pages and excludes pages you do not want indexed.
- Check structured data. Verify that product schema, breadcrumb schema, and organisation schema are present and valid.
Performance testing
- Run PageSpeed Insights. Test your homepage, a product page, and a collection page. Address any critical performance issues before launch.
- Test under load. If you expect high traffic at launch (e.g., timed with a sale or marketing campaign), consider load testing your store.
Phase 8: Launch day
Launch day should be boring. If you have done phases 1-7 properly, launch is just flipping a switch. Here is the launch day checklist:
- Choose a low-traffic launch window. Typically Tuesday or Wednesday morning, never Friday afternoon, never during a sale period, and never the week before a peak trading period.
- Update DNS settings. Point your domain to Shopify. Allow up to 48 hours for DNS propagation, though it typically happens within a few hours.
- Enable SSL. Shopify provides free SSL certificates. Verify that HTTPS is working correctly and that there are no mixed content warnings.
- Remove password protection. If your Shopify store was password-protected during development, remove the password.
- Verify redirects are active. Spot-check 20-30 redirects to confirm they are working on the live domain.
- Place a real order. Place an actual order through the live store to verify the complete purchase flow works in production.
- Verify analytics tracking. Check Google Analytics, Google Tag Manager, Meta Pixel, and any other tracking to confirm events are firing.
- Submit sitemap to Google Search Console. Submit your new sitemap immediately after launch.
- Send customer communication. Notify customers about the new site and the need to reset passwords if applicable.
- Monitor closely for 24-48 hours. Watch for 404 errors, checkout issues, payment failures, and customer complaints.
Phase 9: Post-launch monitoring
The migration is not complete when you launch. The first two weeks after launch are critical monitoring periods. Here is what to watch:
Week 1
- Monitor 404 errors daily. Check Google Search Console and your Shopify analytics for 404 errors. Each one represents a missed redirect. Fix them immediately.
- Monitor conversion rate. Compare your conversion rate to your pre-migration baseline. A significant drop indicates a UX issue on the new store that needs urgent attention.
- Monitor organic traffic. Some fluctuation is normal in the first week. A catastrophic drop suggests a redirect or indexing problem.
- Monitor customer service tickets. A spike in support tickets post-migration reveals issues your testing missed.
- Check Google's indexing. Use Google Search Console to verify that Google is crawling and indexing your new URLs and processing your redirects.
Weeks 2-4
- Track ranking recovery. Monitor your key ranking positions. Most rankings should recover within 2-4 weeks if redirects are properly configured.
- Review all integrations. Verify that data is flowing correctly between Shopify and all connected systems after two weeks of live operation.
- Gather team feedback. Your customer service, fulfilment, and marketing teams will have insights about what is working and what needs adjustment.
- Remove old platform. Once you are confident the migration is stable (typically after 30 days), you can decommission your old platform. Keep data exports archived for at least 12 months.
A platform migration is a significant undertaking, but it does not have to be a stressful one. The difference between a smooth migration and a chaotic one is preparation. Every hour invested in planning and testing saves multiple hours of post-launch damage control.
This checklist covers the essentials, but every migration has unique aspects that require bespoke planning. If you are planning a migration to Shopify and want experienced hands managing the process, start a conversation with us. We have done this dozens of times, and we know where the traps are before you fall into them.